Getting Started
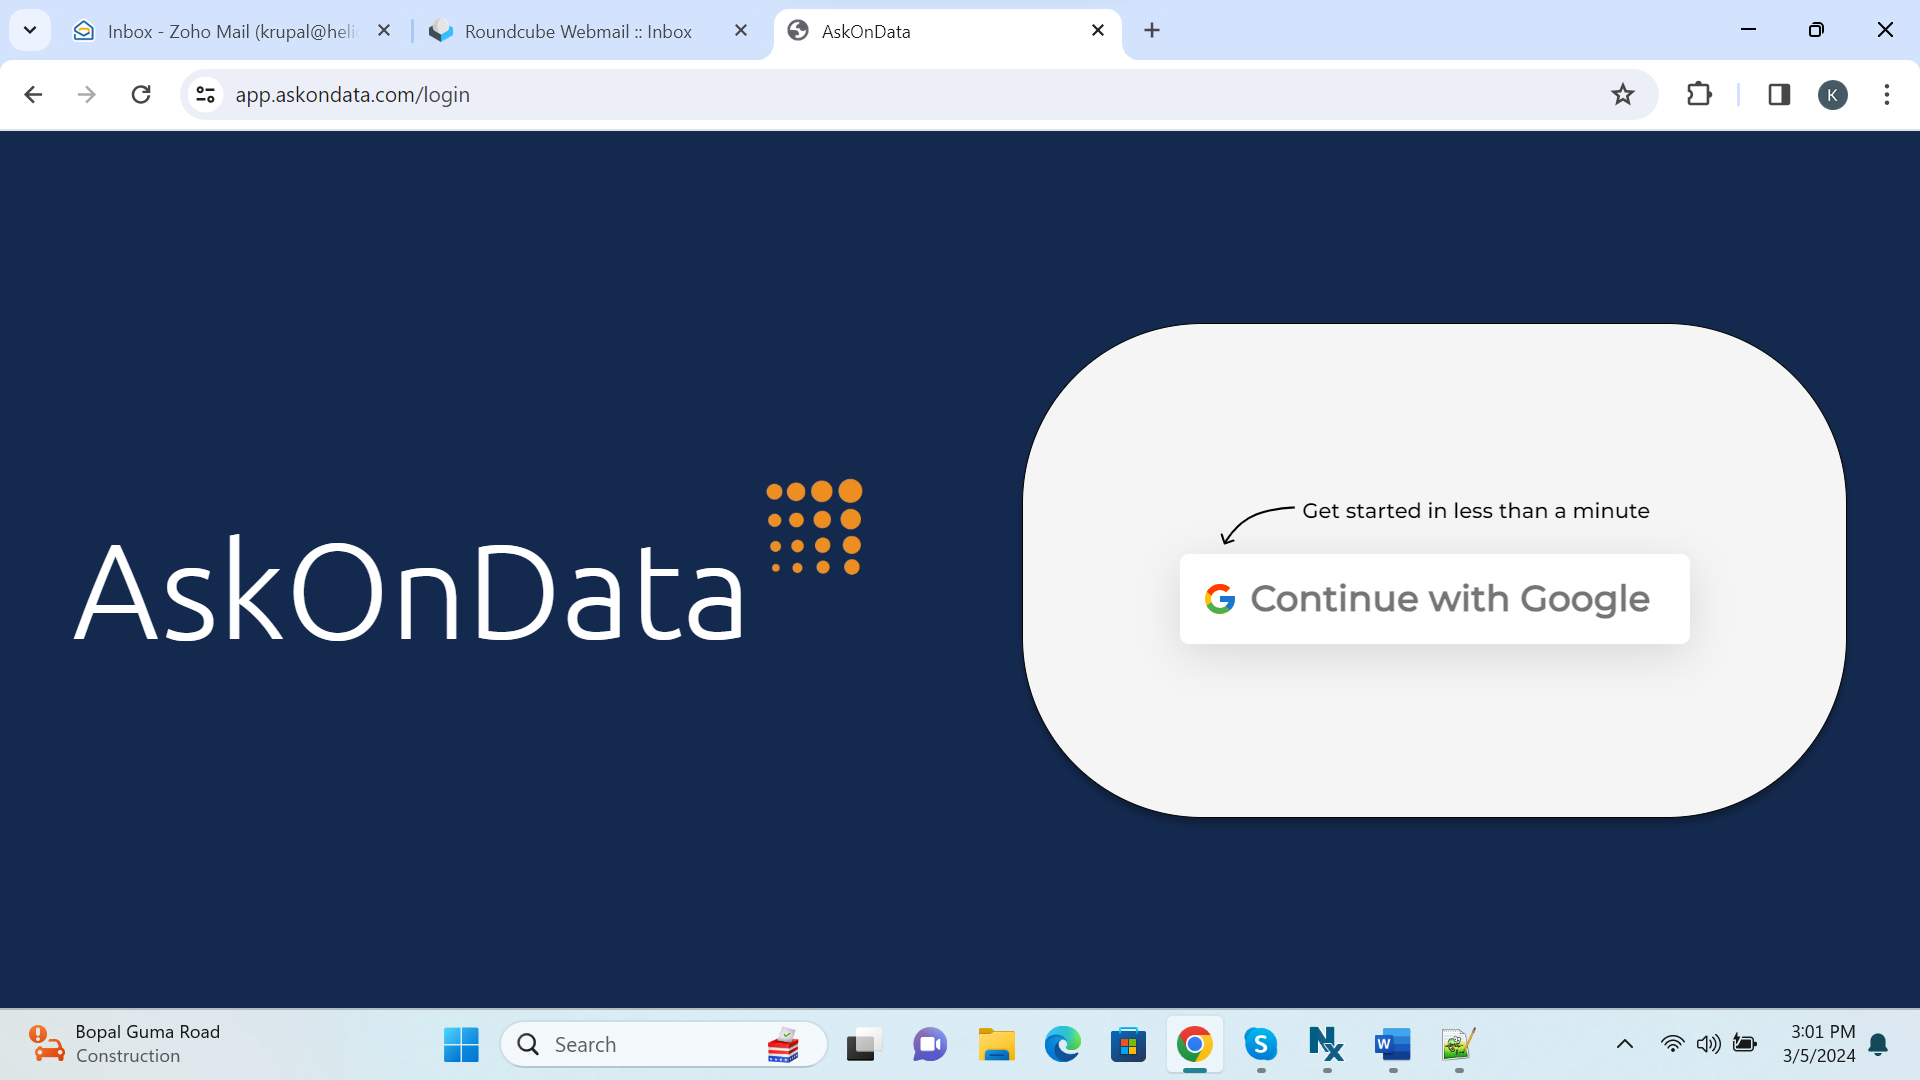
Login into the application In order to login into the application, you can use your google account.
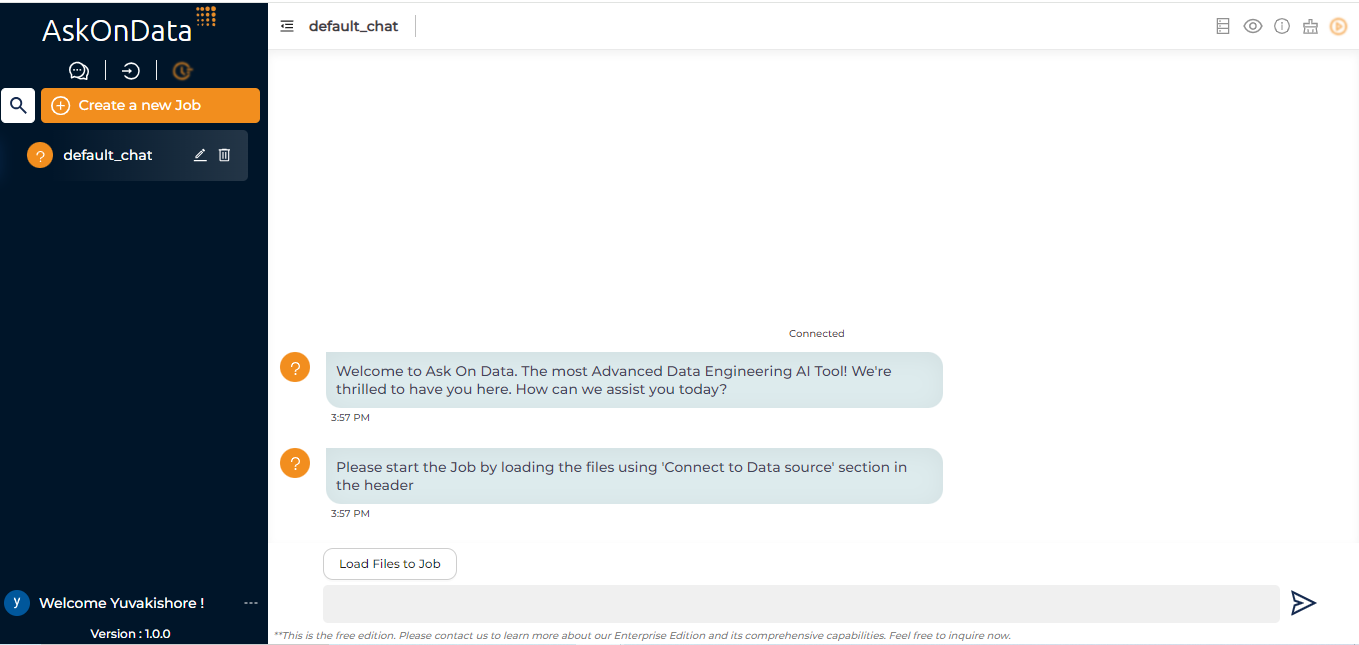
Once you login into the application, you will end up on below UI:
Next step is to create a connection to your Data source. These Data sources connection which you make can act as source, target etc. You even have an option to upload flat files as well. Note that source and target can also be same database, different database, flat files to database, database to flat files etc.
Below is the UI for making data source connection:
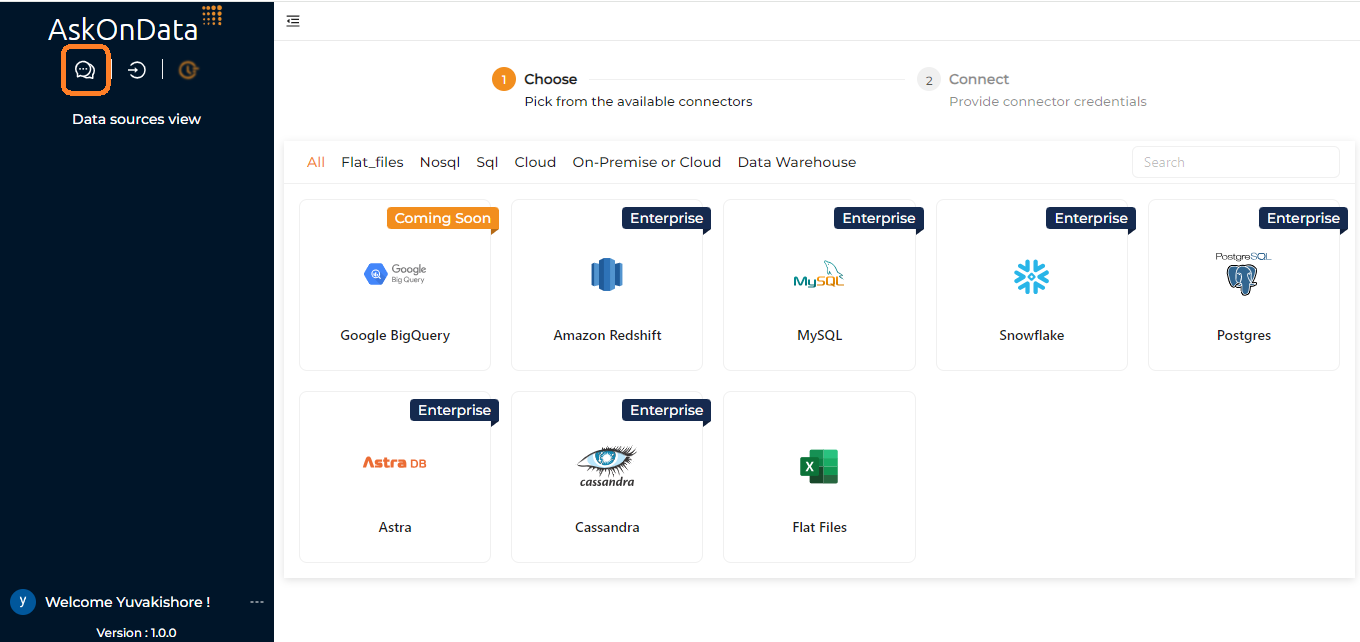
Click on Datasources:

Once you click on Datasources, it will open the page which contains all the options available to make a connection. You can make your required single/multiple connections.
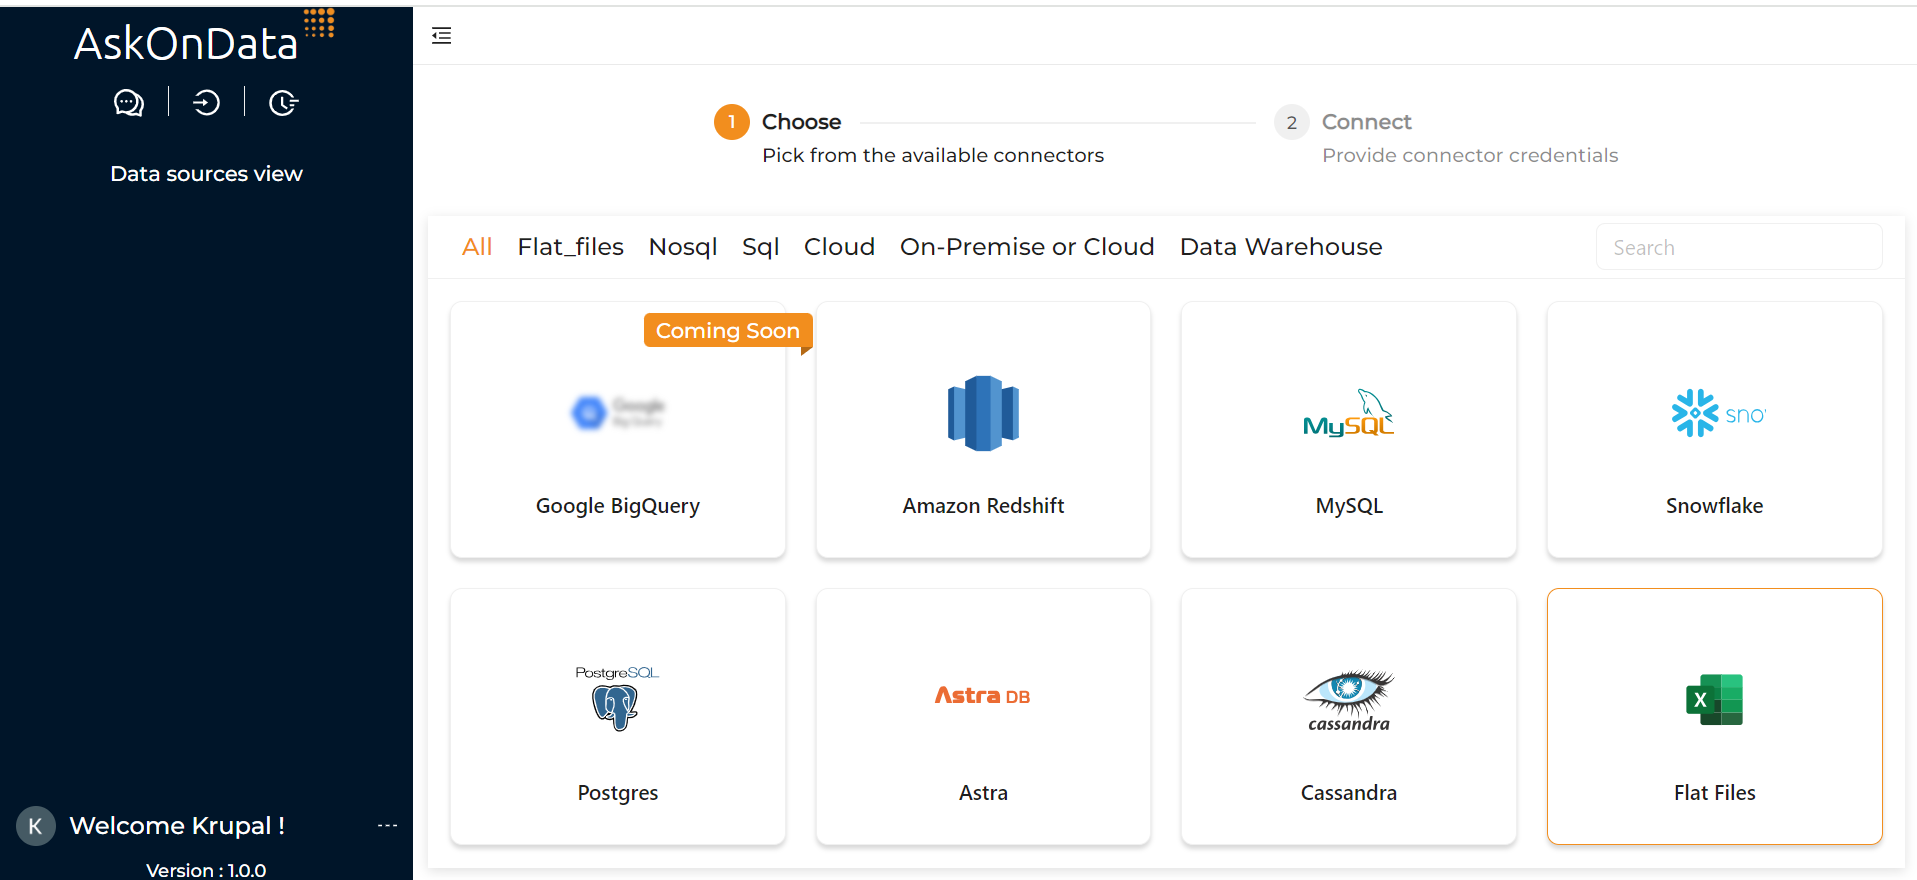
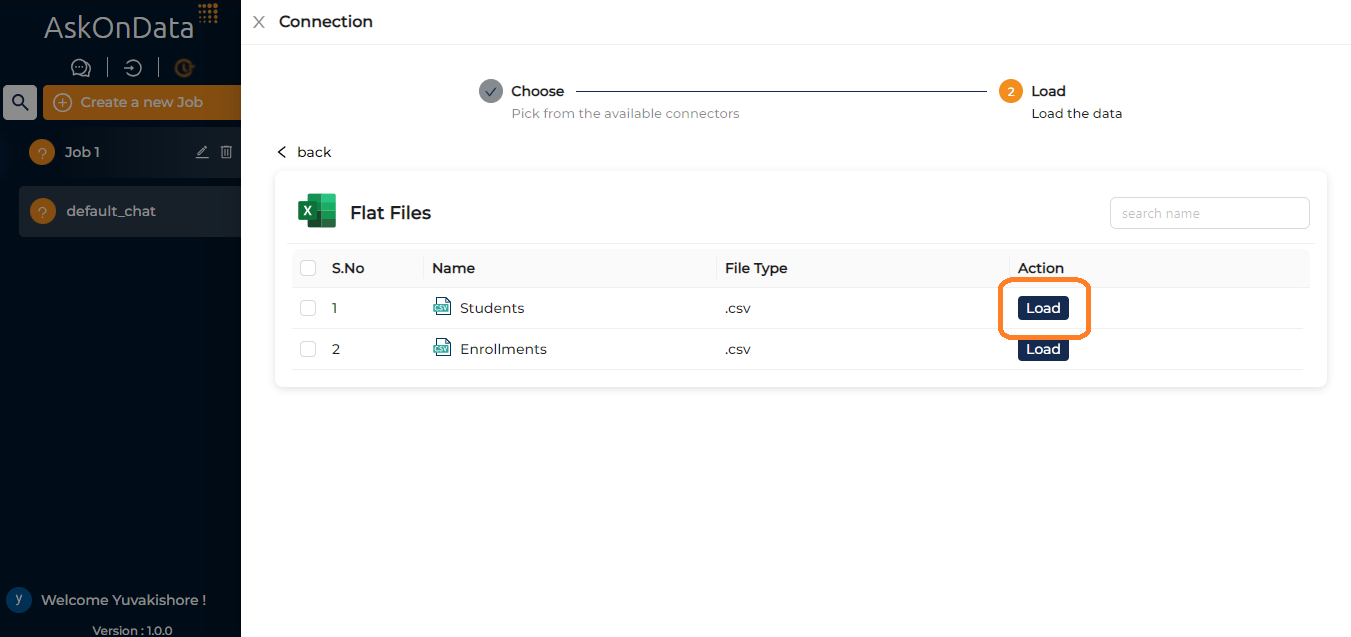
In this document, we are taking Flat Files example as Data source connection. Similarly, you can use any other data source to create your connection.
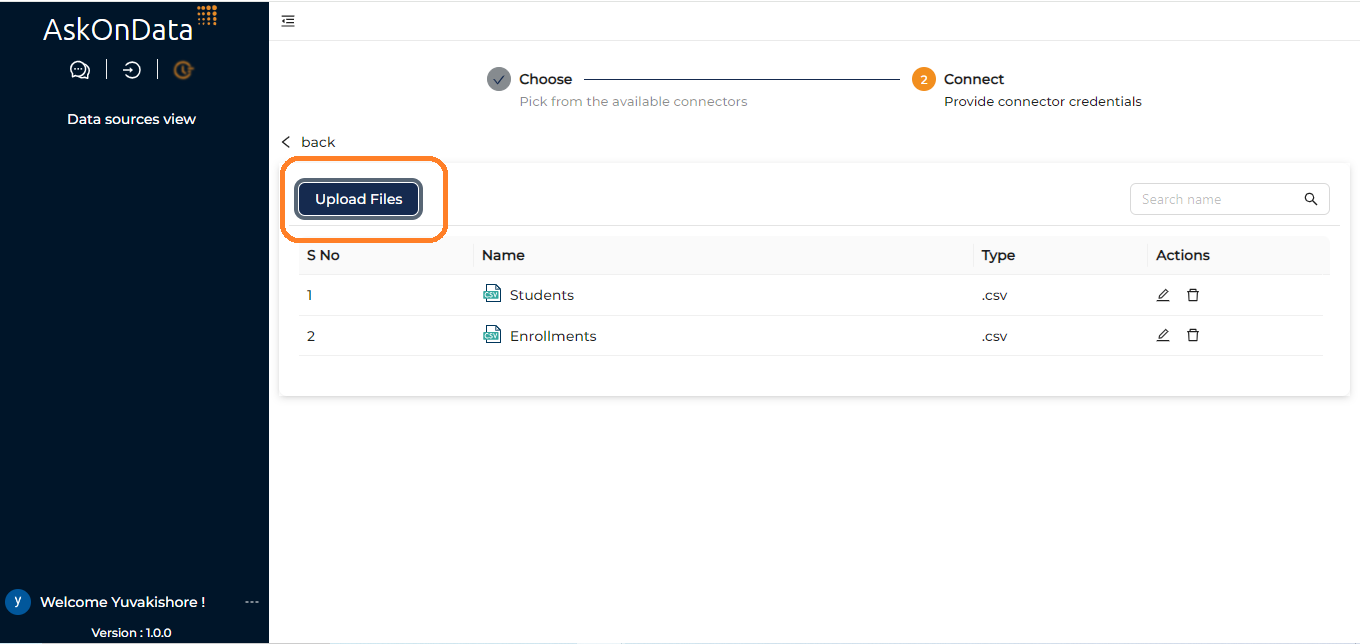
In case of Flat Files, you can upload CSV or Excel.
Note
In case if you need any additional database support then please write to us on support@askondata.com.
After creating connection, next step is to create a new job and in this new job you can define all the transformations.
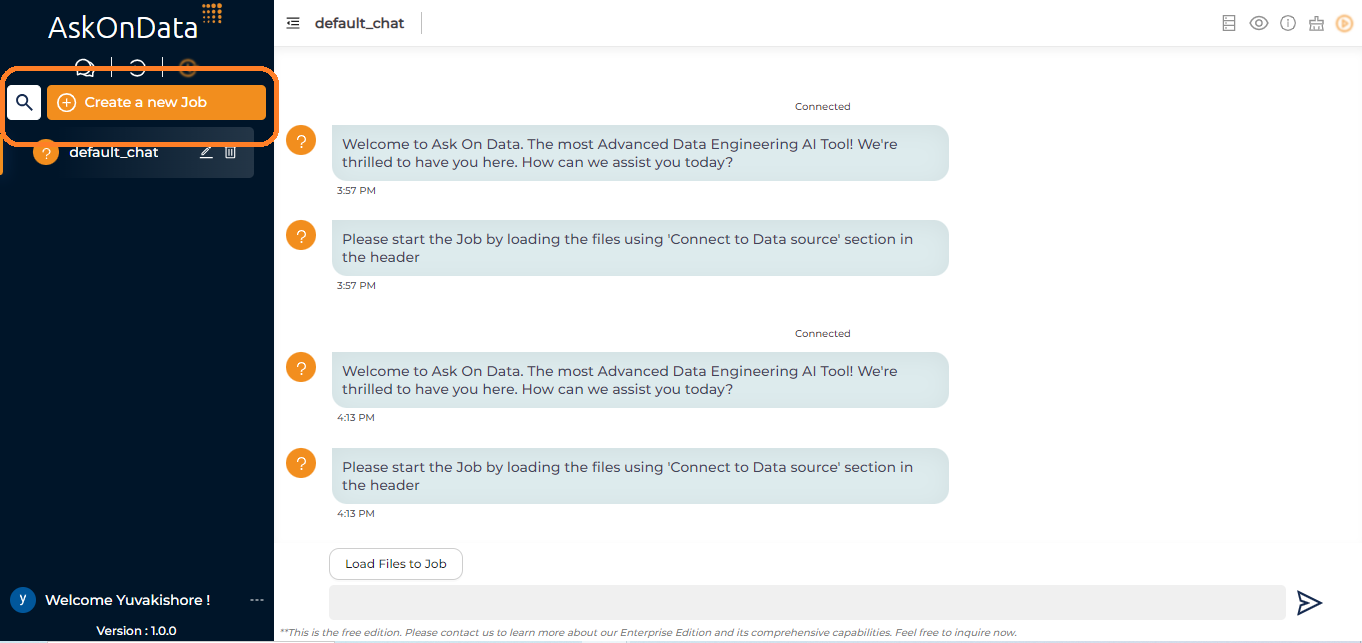
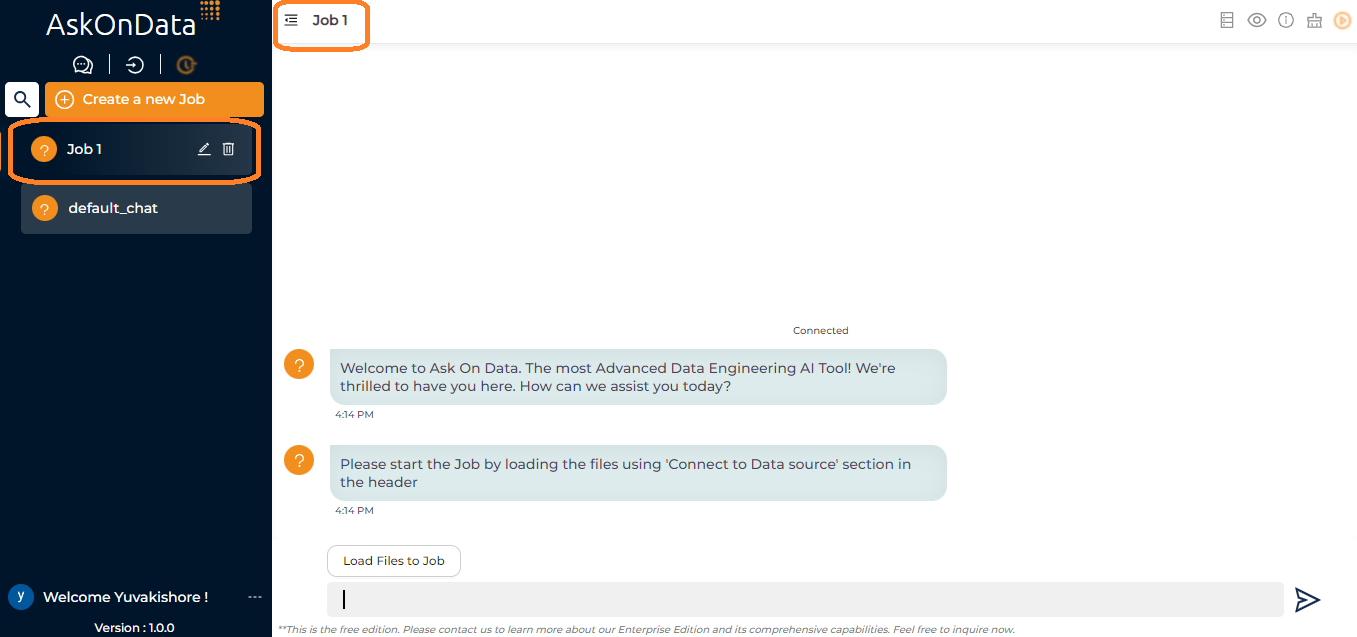
Once the new job is created, you have to specify which database connection you would like to use as source.
For that click on the Load Files to Job and then click on Connect to Datasources:
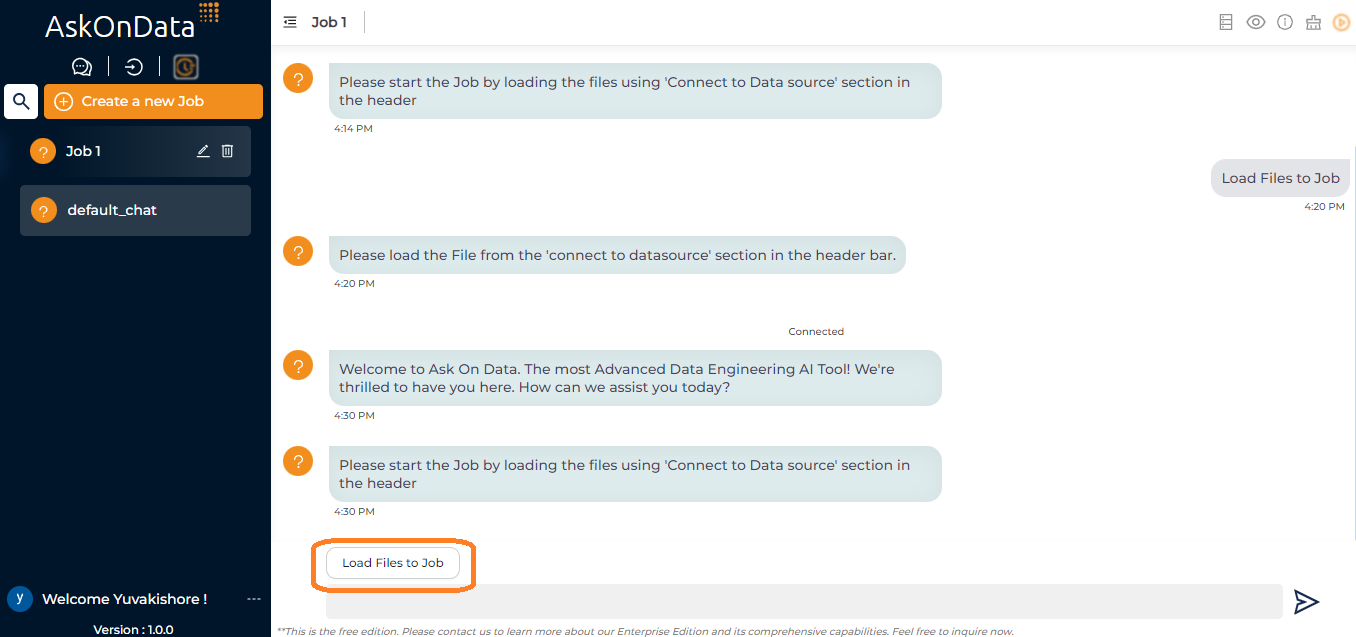

Once the connection gets opened, load the table/file into your job. You can select
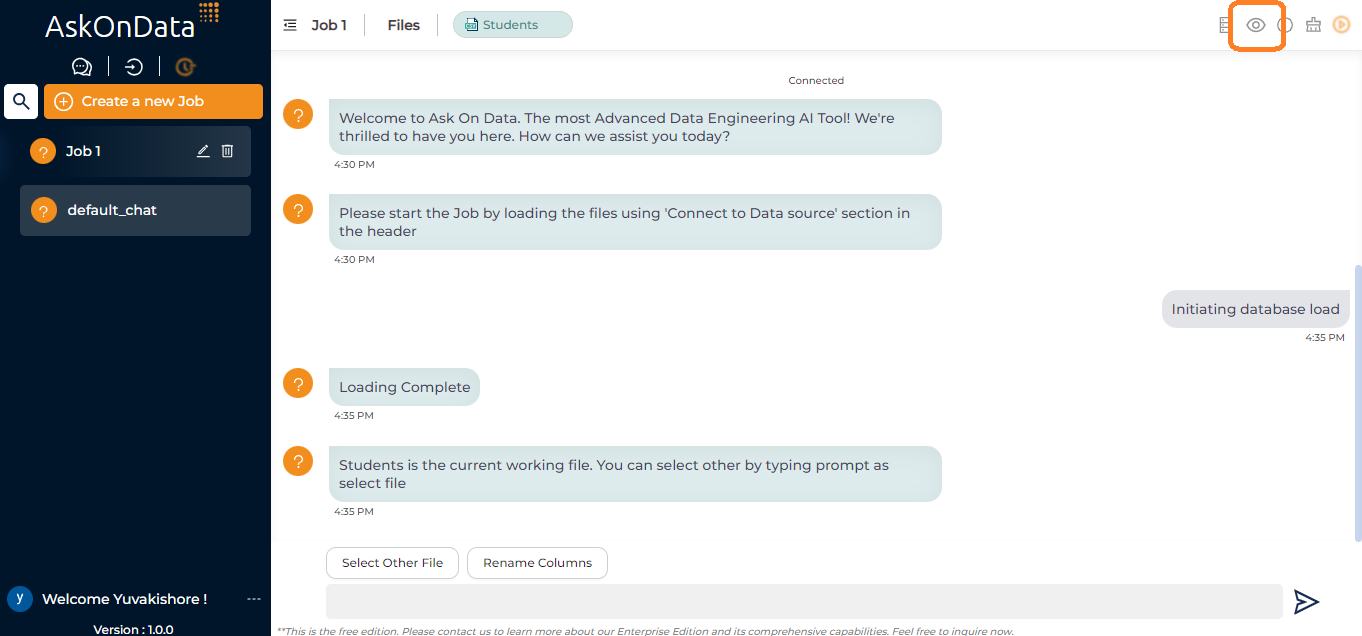
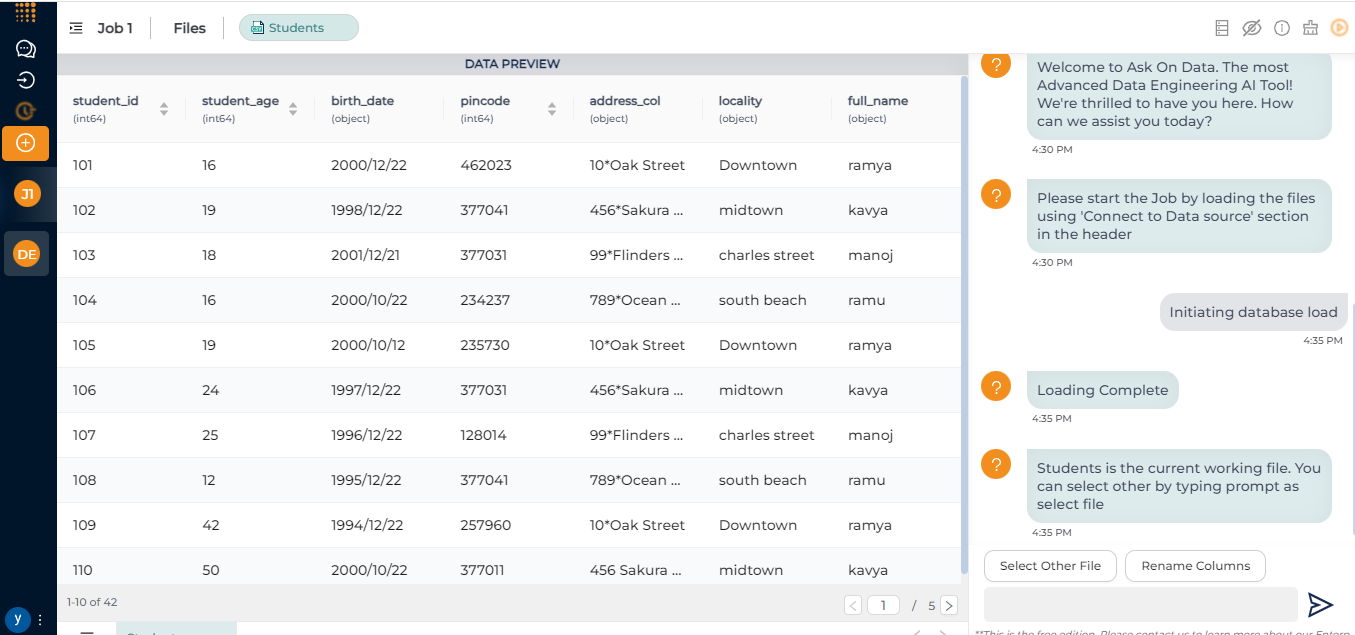
In order to see the data of the file/table which you have loaded into the Job, you can use preview option available at right top:
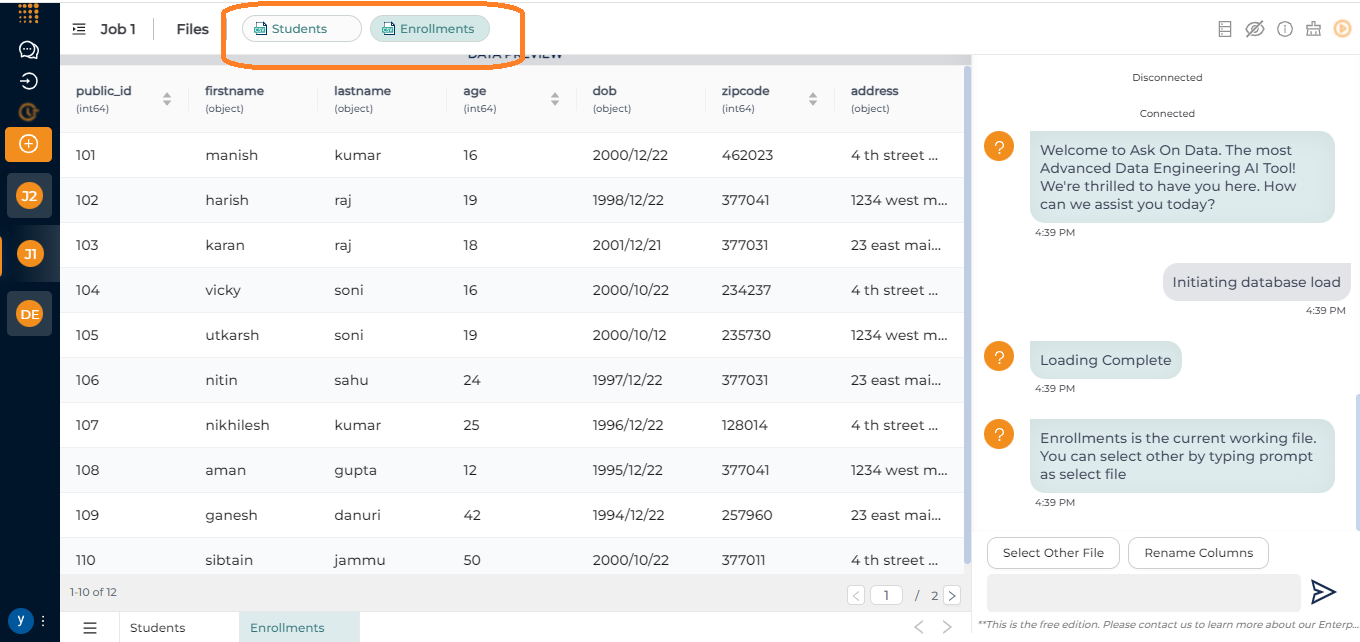
Similarly, you can load other files/tables also into the Job using the button shown in Step 5. Once you load multiple files/tables into the Job, the same will appear in different tabs as shown below:
After loading all the required tables/files into the Job, the next step is to perform the transformation operations on the files as per your requirement. For that you can start typing into the Input Box. You can read about our list of the Transformations that we support in our other blogs.
By default it will select the latest loaded file/table. In case if you want to perform transformation operations on other file/table then you can “Enrollments” then we will select the same by typing something like:
choose working file as Enrollments
This will make our selection file to Enrollments and all our further transformation operations can be done on this file.
Once you have done all the transformations, you can then schedule this job which is explained in further document.